

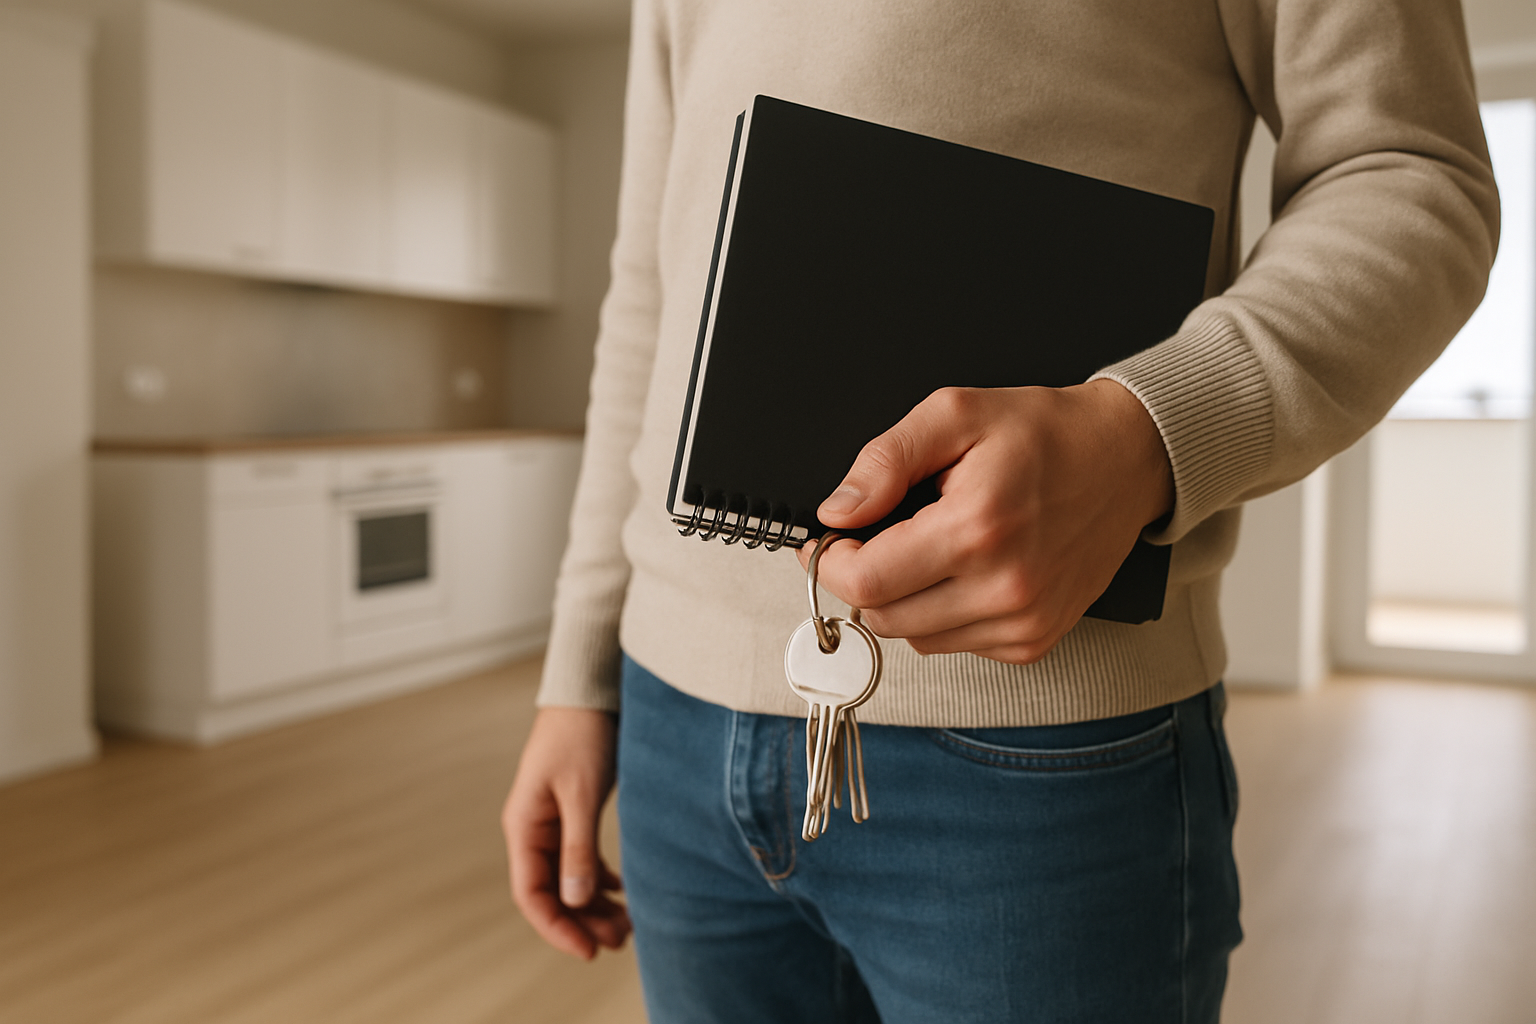
Taking over a rental apartment is not just about receiving the keys. It is an opportunity to check the actual condition of the apartment and its furnishings. Set aside enough time, bring a phone with a charged battery and record even defects that may seem minor.
The purpose of the inspection is not to create conflict. You need to make a clear record of the apartment’s initial condition, test its basic equipment and report problems promptly.
1. Start with the documents and handover of keys
Before taking over the apartment, compare it, its associated spaces and its furnishings with what is stated in the rental agreement or the agreed inventory. If you do not understand something or an item is missing, ask for an explanation.
- Check the address, apartment identification and the spaces you are entitled to use.
- Confirm which equipment, furniture and appliances are staying in the apartment.
- Count all keys, access chips and remote controls handed over to you.
- Test the keys to the apartment, building entrance, mailbox, storage unit, garage and any other spaces.
- Find out which remote controls operate the gate, blinds or other equipment.
Record the exact number of each type of key and access device. If a key does not work or was not handed over, include that in the record.
2. Inspect the apartment room by room
Proceed systematically, for example from the entrance door and then clockwise. In every room, first take an overview photograph and then inspect the details.
Walls, ceilings and floors
- Look for cracks, stains, peeling paint and signs of water damage.
- Check the corners near windows, along the ceiling and behind accessible furniture.
- Look for raised, scratched or missing sections of flooring.
- Inspect skirting boards, thresholds, wall tiles and floor tiles.
- Record prominent drill holes, damaged wallpaper and other visible alterations.
If you notice a musty smell or see dark marks, document the location both close up and in the context of the entire wall. Do not determine the cause without a professional assessment; record only what you can see or smell.
Bathroom and toilet
- Inspect the bathtub, shower, washbasin, toilet, tiles and grout.
- Check seals and silicone around the bathtub, shower and washbasin.
- Look under the washbasin and inside the cabinet for drips, marks or odours.
- Test the toilet flush, taps, shower and drains.
- Check whether the doors, locks and ventilation can be used without problems.
Kitchen
- Check the worktop, cabinet doors, drawers, hinges and handles.
- Look inside the cabinets, especially under the sink and near the water connections.
- Inspect the joints around the sink and worktop.
- Check the inside of the oven, refrigerator, freezer, dishwasher and extractor hood if they are included with the apartment.
- Record damage and any missing shelves, racks, drawers or other accessories.
3. Test the water supply and drains
Do not merely look at the taps. Run both cold and hot water and let it flow for a while. Check whether it drains properly and whether any dripping appears under the sink or washbasin.
- Test all taps and the shower head.
- Check the water flow and drainage.
- Flush the toilet and check whether water continues to run.
- Inspect accessible hoses, traps, valves and connections.
- Pay attention to unusual smells coming from the drains.
If the water supply or water heating is not connected at the time of handover, record that this part could not be tested.
4. Check the electricity and lighting
Turn on all available lights and test the switches. Test sockets with a safe device you normally use, such as a charger. Do not dismantle anything or interfere with the electrical installation.
- Check switches, sockets and their covers.
- Record loose, cracked or visibly damaged components.
- Test the lighting in the rooms, kitchen, bathroom and hallway.
- Find out where the electrical distribution panel is located if it is accessible.
- Record any components that could not be tested.
Do not touch visibly damaged wiring, sockets or the distribution panel. Document such conditions from a safe distance and notify the landlord.
5. Check the heating and ventilation
Whether the heating can be tested fully may depend on the season and the type of system. If it cannot be tested in practice, state this in the record.
- Inspect radiators, valves, thermostats and accessible pipes.
- Look for corrosion, dripping or visible damage.
- Test the heating controls if the system is operating.
- Check ventilation grilles and fans without dismantling them.
- Confirm that the rooms can be ventilated normally by opening the windows.
6. Test the appliances
At a minimum, switch on every appliance included in the rental and test its basic function. Adapt the extent of the test to the time and options available during the handover.
- Hob: switch on each cooking zone.
- Oven: switch on the heat and check the door.
- Refrigerator and freezer: switch them on and check the internal light, shelves and seals.
- Dishwasher and washing machine: check that they switch on, inspect the doors and seals, and run an available short programme if possible.
- Extractor hood: test the fan and lighting.
- Other devices: check the basic controls and supplied accessories.
Photograph the inside of appliances, visible damage and any identification labels if you need them to distinguish between devices. If a test cannot be completed, do not record the appliance as functional; state exactly what was and was not verified.
7. Check the furniture and storage spaces
- Open wardrobes, drawers and lift-up sections.
- Check hinges, runners, shelves, legs and handles.
- Inspect upholstery, mattresses and the surfaces of tables and cabinets.
- Record stains, scratches, cracks, loose parts and missing furnishings.
- Compare the actual condition with the inventory of furnishings if one is available.
Do not handle furniture in a way that could cause damage. Inspect only safely accessible areas behind large or fixed pieces.
8. Inspect the windows and doors
- Open and close every window and door.
- Test handles, locks, hardware and balcony doors.
- Inspect seals, frames and glass.
- Check blinds, roller shades and insect screens if they are part of the apartment.
- Look at the corners around windows and the window sills.
- Test the entrance door with every key handed over to you.
Record scratched glass, leaking or damaged seals, sticking parts and missing controls. You do not need to determine the technical cause.
9. Record the meter readings
Photograph every accessible meter so that both the reading and the identification of the specific meter, if shown, are legible. Record the date and time of the reading.
- Electricity.
- Cold and hot water.
- Gas, if it is used in the apartment and the meter is accessible.
- Heating or other measured values if they are separately available for the apartment.
Do not confuse the meter reading with the meter number. If you are unsure which value is required, photograph the entire display or dial as well as the device identification. Include an inaccessible meter or unclear reading in the record.
10. Do not forget shared and associated spaces
If they are included in your use of the apartment, also inspect the storage unit, balcony, terrace, parking space, mailbox, pram and bicycle room, or any other space being handed over.
- Confirm access and test the keys or chips.
- Check whether the space corresponds to what was agreed.
- Photograph its overall condition and any damage.
- Record any items left in the space.
What a practical handover record should contain
The record should be specific and clear. Instead of a general description such as “damaged room,” write, for example, that there is a visible stain on the wall next to the window or that the left drawer of the chest cannot be closed.
- Date and time of handover.
- Identification of the apartment and inspected spaces.
- Visible damage and its exact location.
- Missing equipment or accessories.
- Items that do not work or were not tested.
- Readings and identification of accessible meters.
- Number of keys, access chips and remote controls handed over.
- Condition of furniture, appliances and other equipment.
- The agreed next steps regarding any problems found.
Do not present assumptions as facts. Distinguish between what you saw, what you tested in practice and what could not be verified.
How to photograph the apartment’s condition
First photograph the entire room from several angles. Then take detailed photographs of every instance of damage. A close-up should be sharp and sufficiently well lit, while another photograph should make it clear where the issue is located.
- For every detail, also take a wider shot showing its surroundings.
- Photograph meters so that their readings are legible.
- Photograph the inside of cabinets and appliances.
- Capture all sides of furniture that are normally visible.
- Avoid unnecessary editing of the original files.
Name files consistently, for example by room, item and type of image: kitchen_sink_overview and kitchen_sink_detail. You can store them in folders organised by room. The important point is that each photograph can later be matched easily to a specific note.
What to do if you discover a problem
- Document it calmly. Record the location, visible condition and the circumstances in which the problem appeared.
- Take photographs. Capture both an overview and a detail, or a short series of photographs showing the test.
- Notify the landlord. Use a method of communication that allows you to retain a clear record.
- Agree on the next steps. Clarify whether and when an inspection, repair, replacement or another solution should take place.
- Record the agreement. Write down what was agreed, who is responsible for taking action and whether a further date was set.
Minor cosmetic defect
A scratch, small stain or chipped area may not prevent normal use of the apartment. Nevertheless, photograph and record it so that the initial condition is documented.
Non-functional equipment
If an appliance, light, lock or another item handed over with the apartment does not work, state how you tested it and how the problem manifested itself. The next steps may depend on the rental agreement, the technical condition and the agreement with the landlord.
A problem affecting safe or normal use
Visibly damaged electrical wiring, a significant water leak, a non-functional entrance lock or a similar problem should be reported immediately. Do not dismantle or repair potentially hazardous components yourself. Whether you take over the apartment, and under what conditions, depends on the specific situation, the agreement and the arrangement between the parties.
Quick checklist for the inspection
- Compare the apartment and its furnishings with the agreed scope.
- Count and test the keys, access chips and remote controls.
- Photograph an overview of every room.
- Inspect walls, ceilings, floors, corners and skirting boards.
- Run hot and cold water and check the drains and toilet flush.
- Look under the washbasin and sink, and inspect connections and seals.
- Test lights, switches and safely accessible sockets.
- Inspect the heating, valves, thermostats and ventilation.
- Switch on appliances and inspect their interiors and accessories.
- Open wardrobes, drawers, windows and doors.
- Test locks, blinds and other controls.
- Read and photograph accessible meters.
- Inspect the balcony, storage unit, mailbox and other spaces being handed over.
- Record damage, missing items and components that do not work or were not tested.
- Record the agreed next steps.
What to retain after handover
- The rental agreement and supplied appendices.
- The record of the condition of the apartment and its furnishings.
- Original photographs organised by room.
- Photographs of meter readings.
- A list of the keys, access chips and remote controls handed over.
- Communications concerning identified defects and the agreed next steps.
- Instructions or documents for equipment if they were provided.
Store a copy somewhere you can access even if your phone is lost or damaged. Update the record as soon as possible if, during initial normal use, you discover a defect that could not reasonably have been identified during the handover.
Frequently asked questions
Do I have to test absolutely everything during the handover?
Check as many components as can be tested safely and reasonably. If something cannot be checked because of the season, disconnected services or limited time, record that fact instead of stating that the component works.
Are photographs enough without written notes?
A combination of photographs and a brief list is more practical. A note explains what the photograph shows, where the location is and whether the component was functional.
What if opinions about the condition of the equipment differ?
Focus on specific observations and test results. Photograph the condition, describe it without assumptions and record what was agreed. The next steps may depend on the agreement, a technical assessment and the arrangement between the parties.